“This paper is so pretty, I can’t possibly use it!”
Does that sound familiar? I used to think that way, but now I am allll about using up my beautiful Designer Series Paper (DSP). That’s because I discovered two important facts (and yes, I learned them both the hard way!).
First, it is MUCH harder to craft with your favourite papers once the co-ordinating colours of cardstock, ink, and embellishments have retired.
Second, no matter how much you love that paper, I can guarantee that within the next 6-12 months, Stampin’ Up! will come out with a new paper that you love just as much if not more! That’s because Stampin’ Up! is very very good at staying on top of colour and design trends, and they will always introduce products to delight their customers. You will never run out of papers to love!
As a reformed paper hoarder, I began using up my stash of retired paper in the summer of 2017. I thought it would only take me a few months, but it actually took me more than three years to get through the backlog! I don’t want that to happen to you, so I’ve put together this collection of some favourite layouts, which I hope will inspire you to use up some of that beautiful paper! It will bring so much more joy when it’s attached to a card and sent to a person instead of sitting on a shelf in your craft room, I promise you!
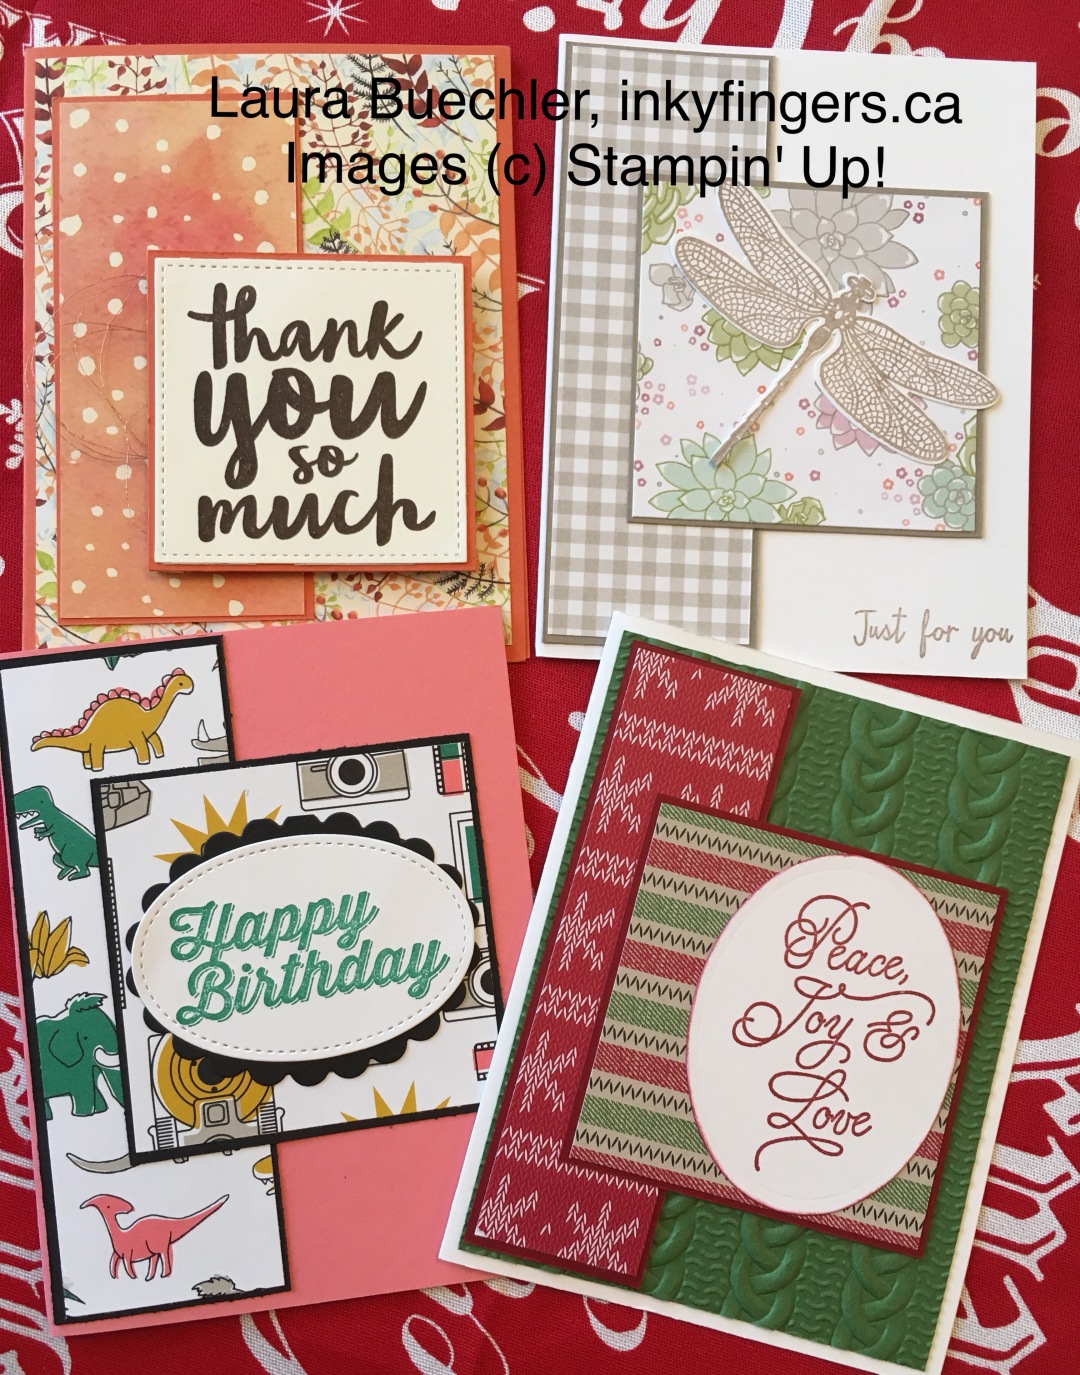
Simple DSP Layout: I’ve made HUNDREDS of cards with variations of this layout. Read all about it in this post!
Z-fold Card: Once you’re in the “use it up” frame of mind, you will LOVE the z-fold card, because it’s a fancy-fold card with huge impact AND it uses more than a cardfront’s worth of DSP. Quick and easy to put together, wonderful fun for a loved one to receive! Learn how to make them here!
Simple DSP Square: This is a great way to ‘let your DSP do the talking’. You can decorate as much or as little as you’d like! Learn how to make this card here!
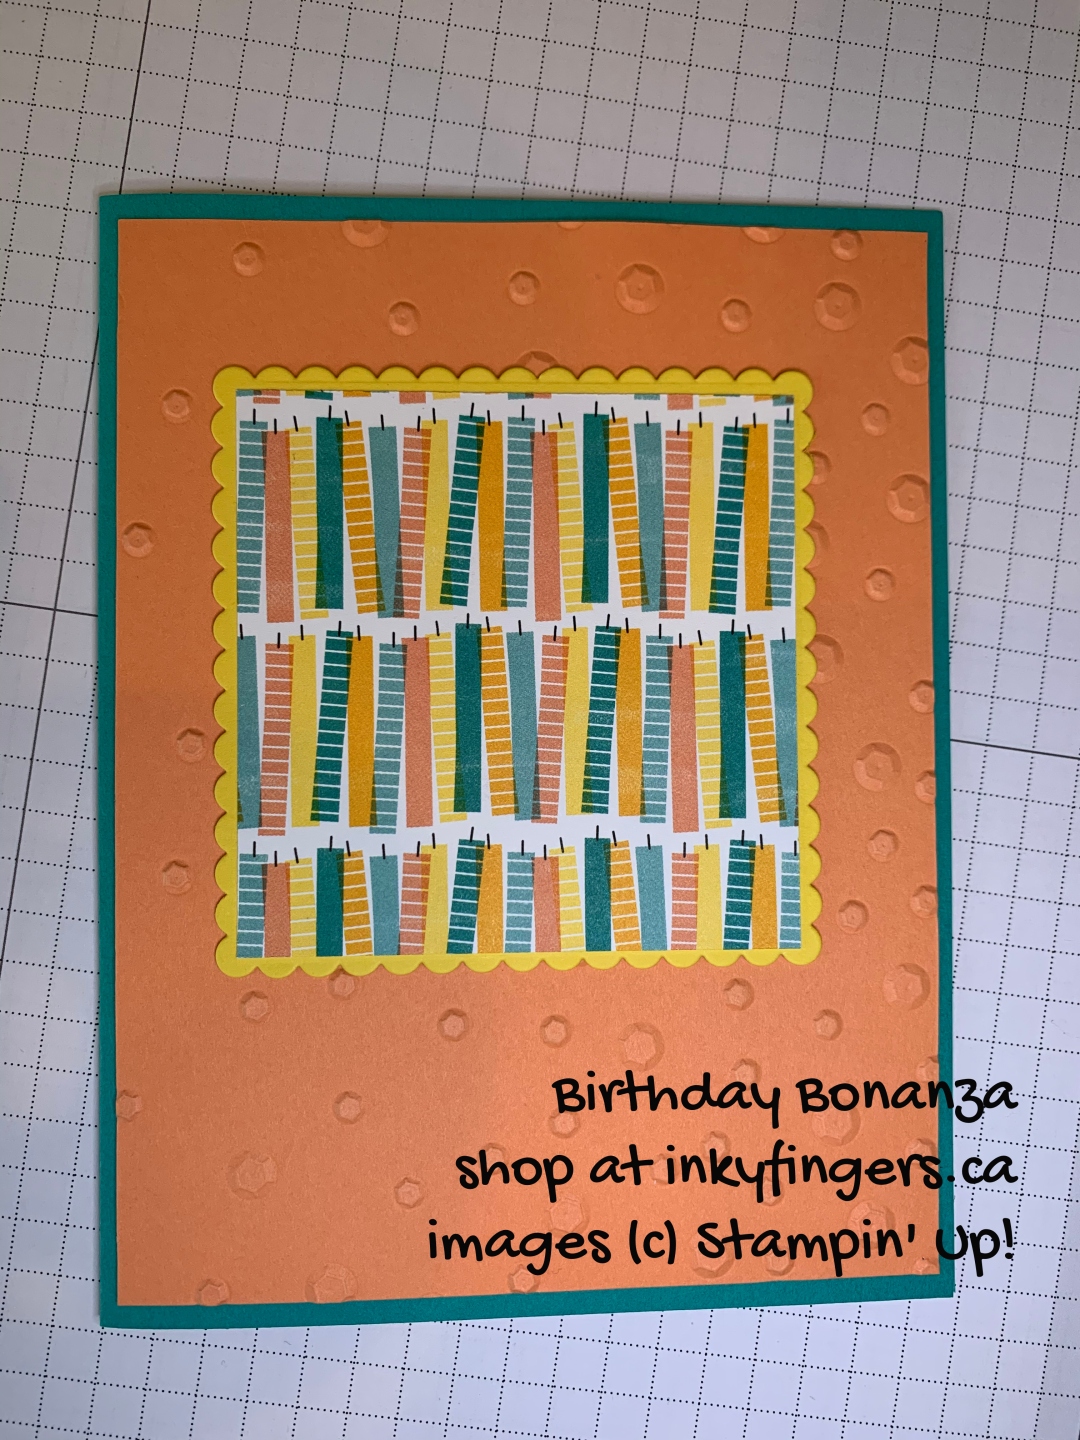
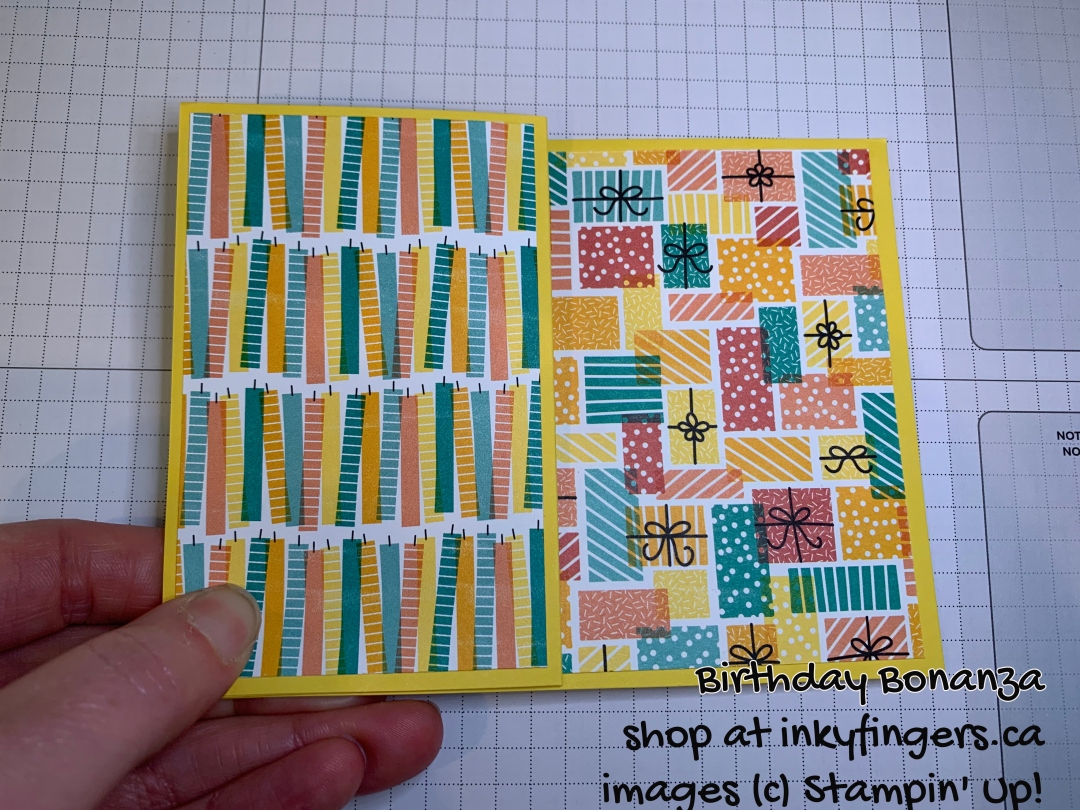
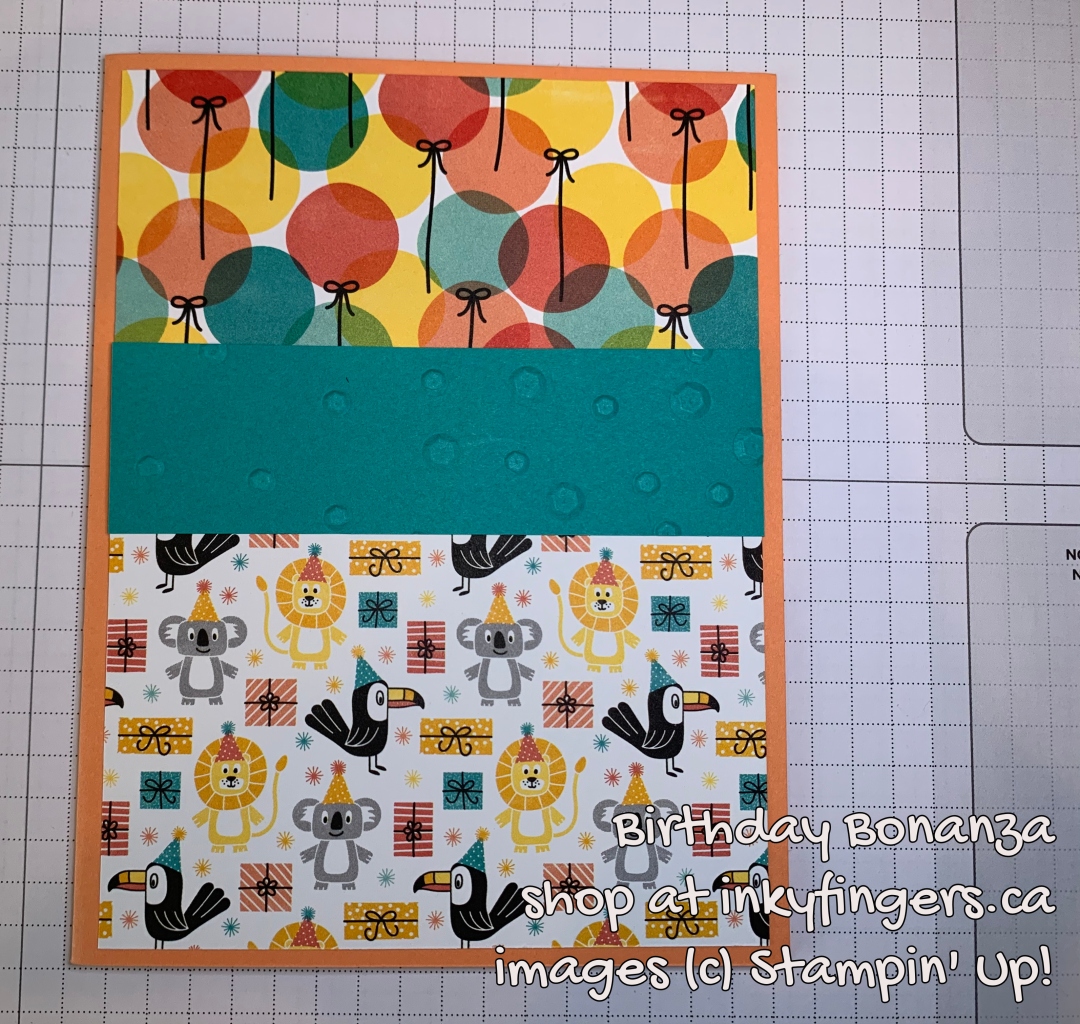
Double Framed Panel: I discovered this layout recently and I love it. It’s quick, it’s simple, and you get to show off two different pieces of our beautiful DSP!
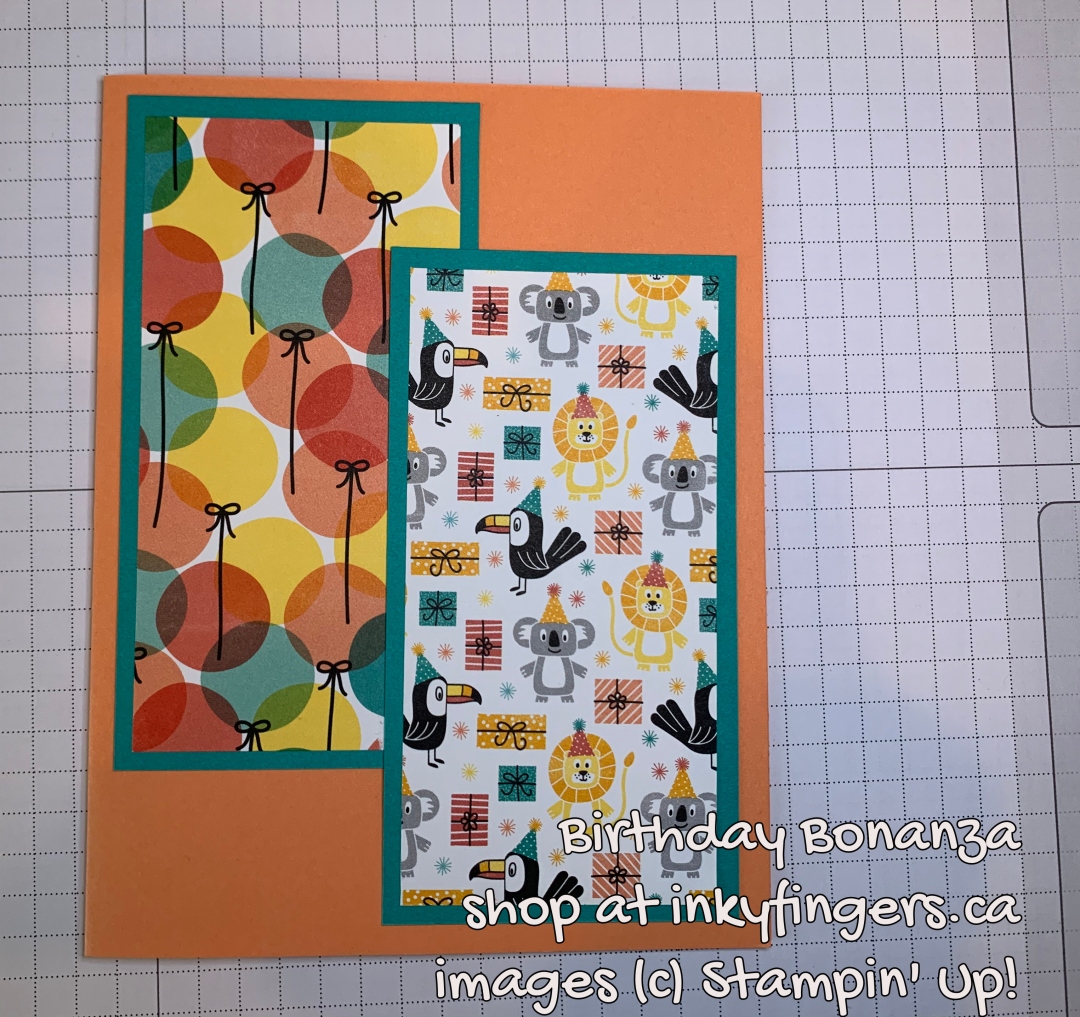
Split Panel Card: Another way to show off two different pieces of DSP is to create a split panel card, where both panels are 4″ wide and overlap to create a card front 5.25″ in height. This design gives you flexibility as the pieces don’t need to all be the same size. Use a piece of cardstock, DSP, or ribbon to cover the seam between the two pieces.
Sampler Card: If you’ve made batches of all the layouts above, you might be getting down to the small pieces of DSP … so it’s time for a sampler card! There are lots of variations, including the one in this post!

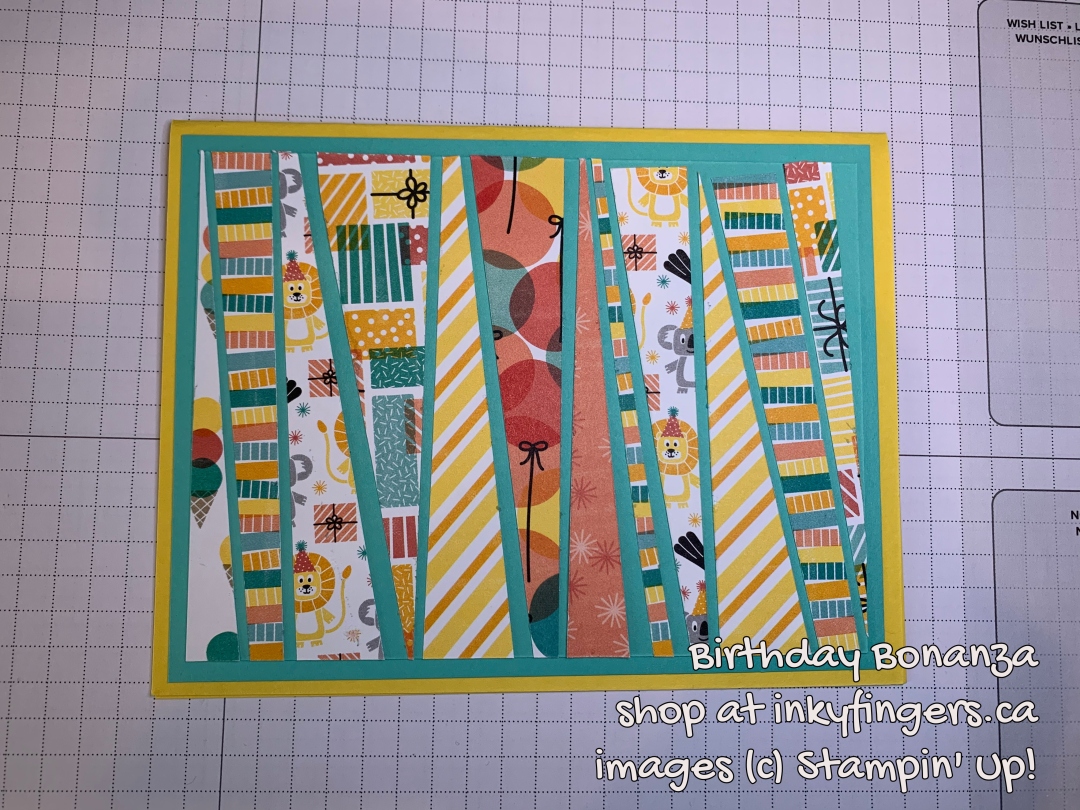
Scrappy Strips: And now you’re down to the tiniest bits and pieces left … so it’s time for a scrappy strips card! Learn how to make one here!
Woohoo! Now I’ve got a whole stack of cards instead of a whole stack of paper. I can add any sentiments and embellishments I want, and then pop them in the mail to send some joy!

If you have stacks of DSP taking up space in your craft room, why not grab a pack (or six) and turn it into beautiful cards at the upcoming StashBuster? This fun, self-paced event will take place at the Nanaimo Rotary Field House on Saturday, February 5th. Attendees will use their own papers and supplies and work from the provided tutorials to create as few or as many cards as they desire. Drop in any time between 10am and 4pm, or come for the full day to maximize your stashbusting powers!
Your event cost includes two packs of cardstock, a collection of tutorials that focus on using Designer Series Papers, coffee/tea/snacks, and best of all – uninterrupted crafting time! Register here by Saturday, January 22nd to join the fun!
Happy Stampin’!
